heyyyyyyyyyy jangan salah pilih oli kita simak dulu nie
BAGIAN I
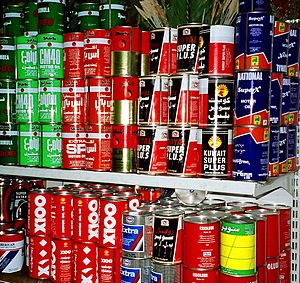
Mungkin anda pernah bertanya-tanya, ketika anda melihat-lihat jenis-jenis oli mesin, entah itu di bengkel, atau di swalayan.
Mungkin anda kebingungan ketika meihat ada kode API, JASO-MA, SAE, 4T,
Oli untuk mesin, jika diperhatikan dari bahannya, terdiri dari tiga jenis.
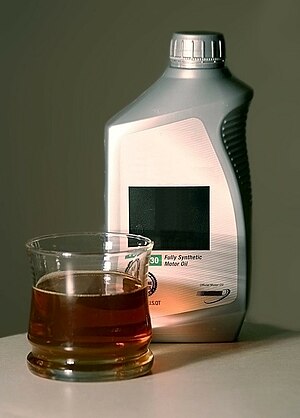
Yaitu: Oli Mineral, Oli Semi-Syntesis, dan Oli Full Syntesis.
Disebut Oli Mineral karena terbuat murni dari pengolahan minyak bumi, dan biasanya minim dengan additive (vitamin untuk mesin). Makanya harganya paling murah diantara kedua jenis oli diatasnya.
Disebut dengan Oli Semi-Syntesis, adalah percampuran dari oli mineral dan oli rekayasa ilmuwan, dengan beberapa additive yang sudah termasuk didalamnya.
Disebut dengan Oli Full-Syntesis, adalah oli yang murni dari rekayasa ilmuwan dengan additive yang kompleks. Mengapa ada rekayasa oli? Karena ternyata oli rekayasa jauh lebih stabil dan lebih bersifat mengcounter panas mesin lebih baik dari oli mineral. Untuk riset teknologi oli ini, jauh lebih mahal ketimbang pengolahan oli mineral biasa. Sebenarnya bahannya sama-sama dari minyak bumi sih, tetapi oli full sintetis ini mendapat pengembangan teknologi lebih lanjut dari ilmuwan.
BAGIAN II
OK, sekarang akan saya bahas, apa itu API dan apa itu JASO-MA.
1. JASO-MA singkatan dari Japanese Automobile Standards Organization.
Sebuah badan / organisasi otomotif untuk membuat standard per-otomotifan di jepang. Misalnya di Indonesia itu ada SNI (Standard Nasional Indonesia). Tapi lebih di khususkan untuk dunia Automotive.
2. API singkatan dari American Petroleoum Institute
Yaitu organisasi / badan perminyakan dari Amerika.
Bertugas untuk memberikan klasifikasi, grade, penilaian terhadap minyak dunia. Misalnya pada kemasan oli 1 liter, terdapat kode API SL/CF, atau API CF saja, atau API SG saja (nanti akan saya jelaskan arti kode-kode ini).
Dan lain-lain tugasnya.
3. SAE singakatan dari Standard American Enginer, hampir sama dengan JASO, tetapi berbeda dengan API, walaupun sama-sama organisasi dari Amerika. Tugasnya bukan hanya menentukan standar oli (ex SAE 15W40 atau sebaginya). tetapi juga menentukan standard hose, ban, kabel, perkakas tangan, dan lain sebagainya.
BAGIAN III
Mungkin dalam kemasan dan merk yang sama, dan jumlah liter yang sama, anda masih di bingungkan oleh angka-angka khusus seperti 2T, 4T, atau yang tidak ada angka seperti tadi sama sekali (Oli Mobil)
Biasanya angka-angka ini di cetak dalam font yang besar.
Apa sih artinya itu...?? OK akan saya jelaskan.
2T adalah oli khusus untuk mesin sepeda motor dua tak, atau yang sering disebut oli samping untuk campuran bahan bakar. Jelas ya..??
4T adalah oli khusus untuk mesin sepeda motor, baik itu untuk dua tak maupun empat tak. Kenapa yang dua tak tetap harus menggunakan oli ini...?? Karena oli ini pada mesin dua tak, adalah untuk melumasi gearbox dengan kopling (clutch) terendam oli, begitu pula dengan mesin sepeda motor empat tak, namun pada empat tak, tidak diperlukan oli samping (2T). Cukup oli 4T ini saja.
Kenapa sih khusus untuk sepeda motor??
Karena, kebanyakan sepeda motor (terutama yang buatan jepang), sistem kopling berikut kanvas kopling menjadi satu dengan gear box, alias terendam oli.
Tahu khan sifat oli?? Oli mempunyai sifat licin.
Oleh karena itu, para ilmuwan merancang oli, bagaimana caranya supaya oli ini tetap licin pada permukaan cylinder dan piston, tetapi bersifat tidak licin pada permukaan kopling sepeda motor. Kalau masih licin, sudah dipastikan sepeda motor anda tidak bertenaga.
Makanya, jangan asal milih oli (kebanyakan orang awam menggunakan oli mobil untuk sepeda motornya).
Oli Mobil
Biasanya tidak ada keterangan angka 2T maupun 4T sama sekali.
Oli ini di gunakan hanya untuk melumasi ruang bakar saja. Tidak untuk melumasi gear box. Karena gear box dan kopling pada mobil terpisah dari mesin. Pada sepeda motor biasanya terdapat pada Harley Davidson, atau motor BMW model lama.
Oleh karena itu, oli ini di desain memiliki sifat dasar yang sangat licin pada ruang bakar.
Makanya jangan heran kalau anda pengguna motor kebingungan, motor anda sering selip kopling setelah mengganti oli jenis ini. Jadi jelas ya problemnya dimana??
BAGIAN IV
Nah bagian ini akan saya jelaskan apa itu SG, SH, SI, SJ, SL atau CA, CB, atau CC dan seterusnya.
Misalnya anda menemukan oli Motul Ester 5100 4T dengan API SL
atau anda menemukan oli Shell dengan API SG/CF.
Pada digit pertama adalah penggunaan oli tersebut untuk jenis mesin.
Sedangkan digit kedua adalah kualitas oli tersebut (biasanya makin mendekati huruf Z, makin banyak additive-nya).
S atau singkatan dari "Spark" atau "busi" menandakan penggunaan pada mesin yang berbahan bahan bensin (baik motor maupun mobil).
C atau singkatan dari "Combustion" atau "pengkabutan" menandakan penggunaan pada mesin yang berbahan bakar solar (mesin diesel).
Contoh kasus diatas, Motul Ester 4T 5100 dengan API SL
berarti oli ini khusus untuk oli sepeda motor (kopling basah) baik 4 tak maupun 2 tak dengan kualitas / grade L
Sedangan Shell dengan API SG/CF, artinya oli ini di gunakan untuk mobil berbahan bakar bensin dengan kualitas / grade G, dan bisa digunakan untuk mobil berbahan bakar solar (mesin diesel) dengan kualitas / grade F. Namun oli ini juga bisa di gunakan pada sepeda motor yang kopling dan gear box-nya terpisah seperti Harley Davidson.
BAGIAN V
Viskositas, biasanya ditanyadi dengan kode SAE 15W40, 15W50, 20W50 dan lain sebagainya.
Adalah tingkat kekentalan oli pada suhu tertentu. Angka didepannya adalah angka ke enceran oli.
15W40 maksudnya oli ini mempunyai viskositas 15 pada suhu 40ºC (CMIIW).
Oli encer sangat berguna untuk melumasi mesin pada suhu eropa. Dimana negera eropa terdapat musim dingin.
Berfungsi untuk cepat melumasi keseluruhan mesin dalam keadaan dingin.
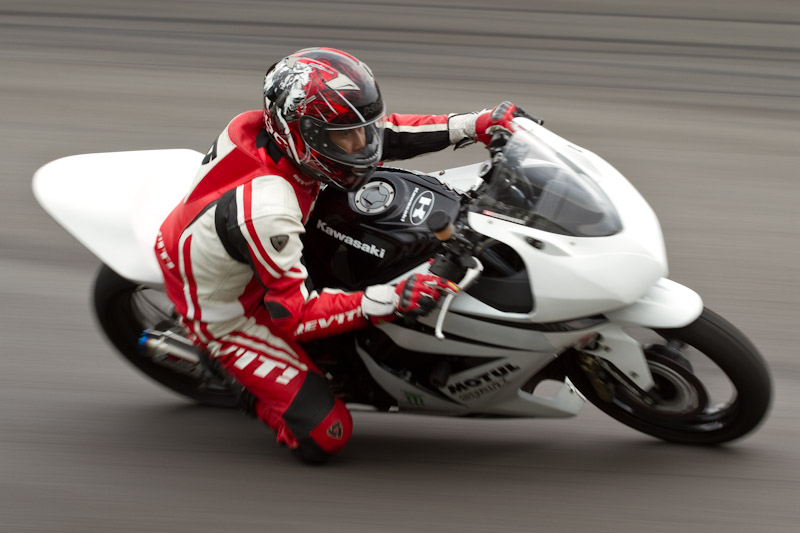 Banyak yang bilang Ninja 150 r lebih kenceng, adapula yang bilang sebaliknya, Ninja 250R lah yang paling kenceng . . . lha terus siapa yang bener. Oke lah kalo begitu . .. saya sih berpegangan pada data-data empiris yang diakui secara nasional. Yap data yang dikeluarkan Komisi GP nasional . . .kebetulan kemarin Bro Bona memforward saya jadwal acara 3 hari pesta balap motor di Sentul yang rencananya akan digelar saat libur panjang akhir pekan ini. Disana tercantum best Lap yang dicatat Ninja 250R untuk mengelilingi sirkuit setul adalah 1:54.601 . lalu berapa best lap Ninja 150R? ternyata emang lebih kenceng 1:52.397 !!
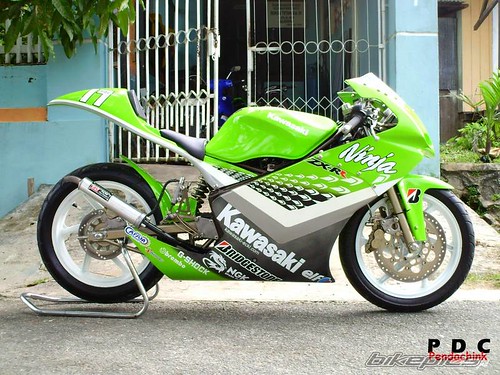 Saya adalah pengguna Ninja 250R tapi sorry to say . . . Terbukti secara Empiris bahwa Ninja 150RR memang lebih kencang dari Ninja 250R. Data ini tidak terbantahkan . . . tapi setelah melihat data ini apakah layak ninja 250R dibandrol lebih tinggi? masalah kelayakan harga gak hanya dihitung dari masalah performa, masih banyak variabel-variabel lain . . . tapi faktanya sih tetep kedua Ninja ini emang kenceng . . . bahkan tetep masih lebih kenceng dibanding best lapnya bebek nasional yang dikorek habis-habisan dan rumornya sampai mencapai power 24 dk (atau lebih ya?) dimana best lapnya IP 110 sebesar 1:59.327 atas nama Hoky krisdianto dan IP 125 sebesar 1:57.773 atas nama hadi Wijaya . . . Gimana ceritanya bila keduanya geber kedua Ninja ini yah he he he eh . . . Oh ya dibawah ini saya sisipkan daftar acara 3 hari balap Sentul . . . semoga berguna
